

バレンタインが近づいてきて、ネイルデザインを考えている方も多いのではないでしょうか?
今回は、セルフで簡単にできるリアルで可愛いチョコネイルの作り方をご紹介します。
YouTubeで公開した動画、
”【リアルが可愛い♡】チョコネイルのやり方!セルフで簡単に出来るバレンタインデザイン!100均ジェル♪”
で詳しく解説していますが、ここではいくつかのデザインを簡単にお伝えします。
 🔰羊さん
🔰羊さん美味しそうですね!
 物知りウサギ
私も作っていて楽しくなりました!
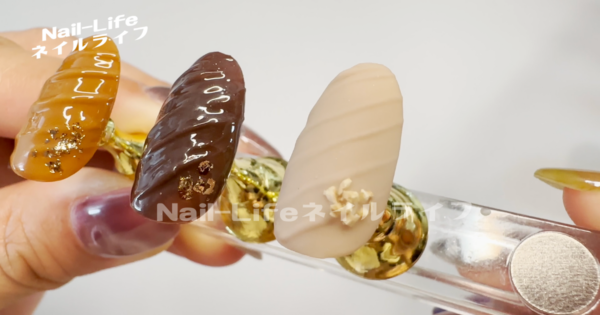
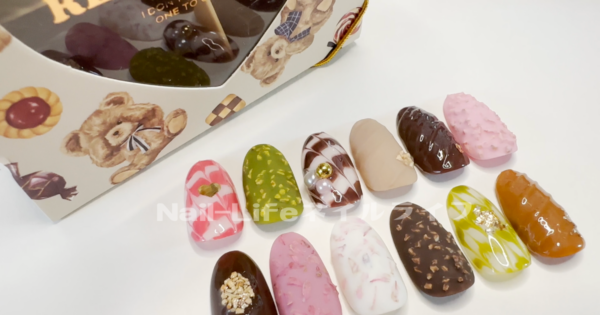
1. クランチチョコデザイン
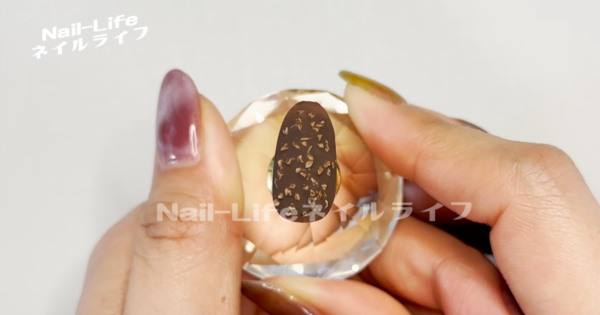
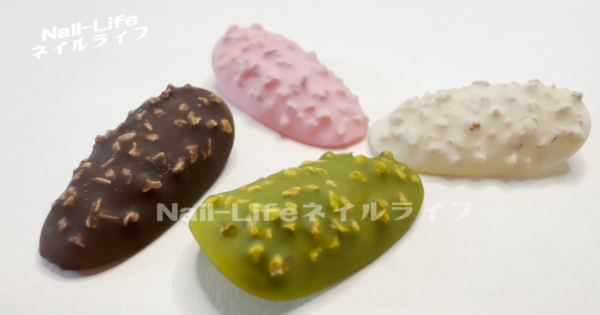
まずは、クランチチョコデザインから。
このデザインのポイントは、リアルなクランチの質感を出すことです。
私が使ったのは、パーツクラブで手に入るコルクフレーク。
これをベースコートの上にのせ、ダークブラウンのジェルで覆い、最後にマットコートで仕上げることで、まるで本物のチョコレートのような質感が生まれます。このリアルさが、指先をさりげなく可愛く見せてくれます。
🔰羊さんコルクフレークがポイントですね!
 物知りウサギ
私は、パーツクラブで買いましたが、
調べたら他のお店にも良さそうなものがありました。

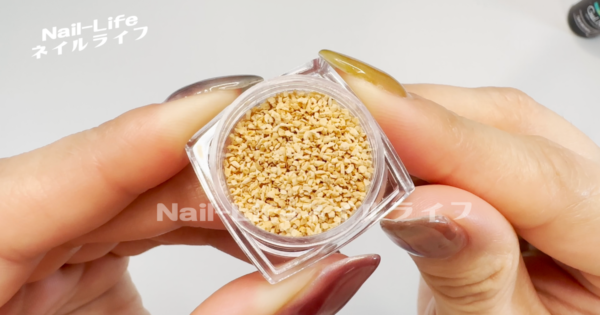
実際に追加購入したコルクパウダー
動画で紹介したパーツクラブのコルクフレーク以外にも他のコルクアイテムでクランチチョコデザインを試してみました。
物知りウサギそれが、ネイルタウンのコルクパウダーです。
 🔰羊さん
🔰羊さんコルク“パウダー“ですか?
ネイルパーツのコルクフレークに比べて「少し細かいかな?』って思ったので
実際にショート動画で紹介しました。
🔰羊さんこれも可愛いですね😍
物知りウサギネイルタウンは送料無料で買えるのが嬉しいですね。
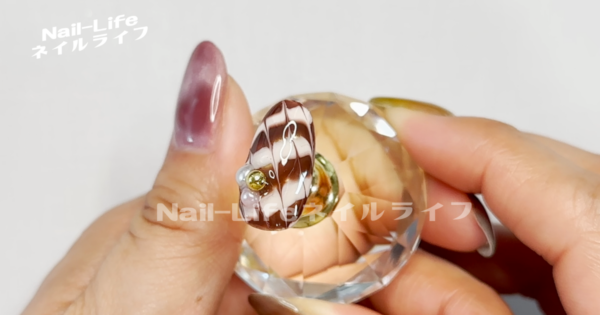
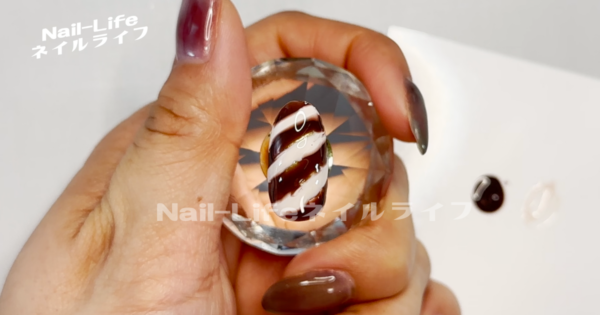
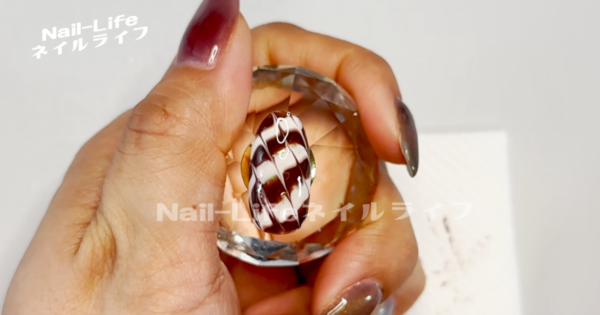
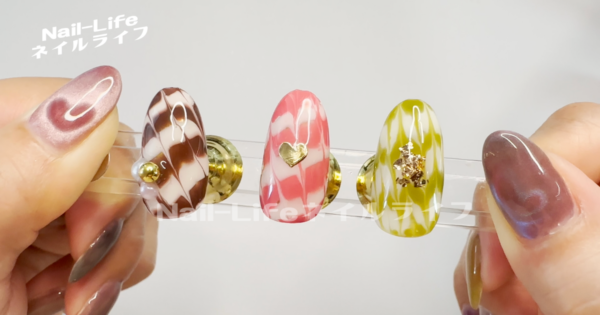
2. チョコレートラインデザイン

シックで洗練されたチョコレートラインデザイン。
キャンドゥのブロンズジェルをベースに、ネイル工房3Kビジュージェルを混ぜたジェルでラインを描きます。
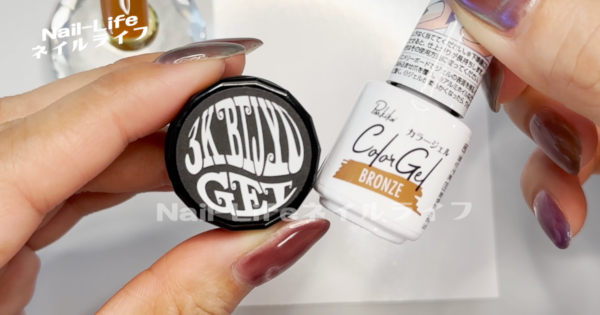

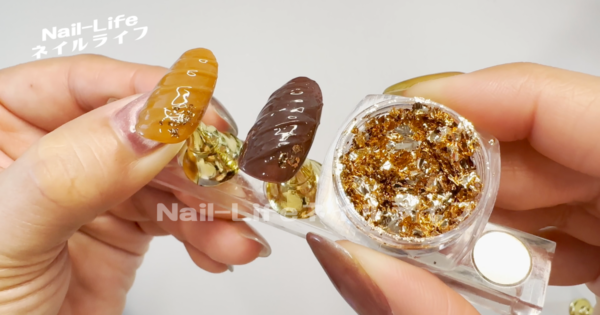
このデザインの秘密は、ネイルタウンのニュアンスホイル。

これをアクセントとして加えることで、上品ながらも目を引くデザインに仕上がります。
仕上げにトップコートを塗れば、完成です。
 🔰羊さん
🔰羊さんカラーを変えると雰囲気変わりますね!
物知りウサギ艶感やマット仕上げ、どちらも良い感じになると思います。
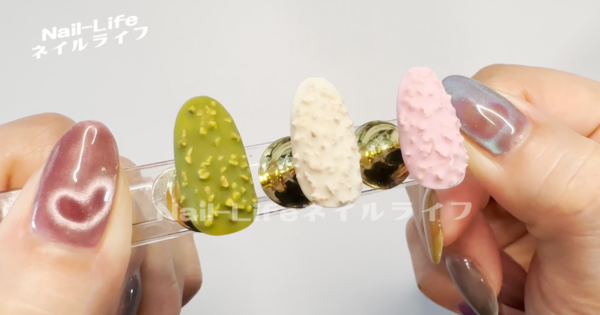
3. マーブルチョコデザイン
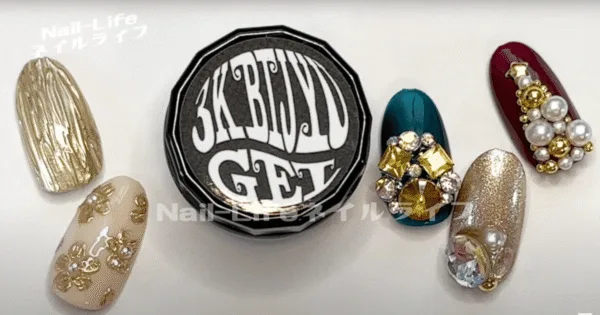
最後にご紹介するのは、個性が光るマーブルチョコデザイン。
キャンドゥのコーヒーとアイボリーを使い、まるで本物のマーブルチョコのような模様を作ります。
このデザインのポイントは、ランダムに描かれるマーブル模様。
筆を使って自由に描き、最後にパールやブリオンを加えることで、
リアルでありながらもアーティスティックな仕上がりに。
 🔰羊さん
🔰羊さんバレンタインにぴったりのデザインです。
物知りウサギ色違いなどは、動画内で紹介しています。
まとめ
バレンタインデーに向けて、あなたもチョコネイルで特別な指先を演出してみませんか?
自分で作る喜びと完成した時の満足感は、きっと素敵なバレンタインの思い出になるはずです。
それでは、動画でお会いしましょう!最後まで読んでいただき、ありがとうございました。
物知りウサギYouTubeで私が公開した動画では、
これらのデザインをもっと詳しく解説しています。
🔰羊さんぜひチェックしてみてくださいね。
コメント