
ジェルネイルはマニキュアと違って、簡単に落とす事ができません。
なので、ジェルネイルは数週間楽しんだら、落とす必要があります。
 🔰羊さん
🔰羊さんよくオフするって言いますよね。
 物知りウサギ
そうです。その
ジェルネイルのオフの方法をご紹介します。
しかも今回は、ジェルネイルの落とし方は家にあるものを
使った方法をご紹介しますので、
この記事を読んでもらえば、ジェルオフの道具を全て用意しなくても大丈夫です!
ジェルネイルオフに必要な物とジェルオフのやり方を知りたい方は
是非、最後までご覧ください。
ジェルネイルの落とし方は?
ジェルネイルは、マニキュアと違って
除光液で落とす事が出来ません!
しかも、使ったジェルの種類によって落とし方が違います。
🔰羊さんジェルの種類ですか?
物知りウサギそうです。
ハードジェルとソークオフジェル(ソフトジェル)です。
🔰羊さんジェルを塗るときはやり方は一緒ですよね。
物知りウサギそうなんです。
硬化後、ジェルの硬さに違いがでます。
ハードジェルとは?
ハードジェルは、名前の通りで硬化すると硬くて強度のでる丈夫なジェルです。
ネイルサロンでジェルネイルをしてもらう時も長さ出しなどでよく使われています。
ただし、
丈夫で長持ちである反面、このジェルを落とすのは苦労します。
🔰羊さん苦労…?
物知りウサギこのジェルを落とすときは、
削り落とすしかありません!
サロンでハードジェルをオフする場合、
ほとんどのお店ではマシンを使って削り落とすので
時間もかかりませんが、
自分でオフするにはかなり大変です。
🔰羊さん自分でするときはどうすれば良いですか?
物知りウサギヤスリで削ります!
 🔰羊さん
🔰羊さんこれ1本ですか?
物知りウサギジェルの層を削り落としたら、
自爪の表面を目の細かいスポンジファイルで整えます。

サロンでハードジェルをしてもらったら、オフも同じサロンで!
ハードジェルの場合は、ネイルをしてもらった所でオフする事をお勧めします。
理由としては、
サロン用のジェルはプロ用です。
なので、
密着と強度が高く、削るのが大変です。
また、サロンなら主流がマシンなのでのジェルオフの時間が短いです。
🔰羊さん他店のジェルオフは金額が高い事がありますよね。
物知りウサギできればハードジェルをしてもらったお店で
オフをお願いするのがおすすめです。
ハードジェルのオフを自分でしない方が良い理由
セルフでやオフする場合はジェルと自爪の見極めが難しいので、
初心者さんにはお勧めしません。
もちろん、
他にもマシンを使って落とす方法もありますが、
怪我などのリスクが高いです。
🔰羊さんなるほど。
ネイルサロンでしたハードジェルは
ネイリストさんにお願いした方が良さそうですね♪
ソークオフジェルとは?
ソークオフジェルはメーカーによってソフトジェルとしているジェルです。
ハードジェルに比べると、柔らかい柔軟性があるのが特徴で
ジェルをオフする時も削り落とすハードジェルとは違って、専用のジェルリムーバーを使います。
 🔰羊さん
🔰羊さんジェルリムーバー?
物知りウサギジェルリムーバーがあれば、
あとは家にあるもので出来ると思います。
家にあるものをチエック!ジェルオフで使うものは?

ソークオフジェルのジェルネイルオフで使うアイテムをご紹介します。
それがこちらです。↓
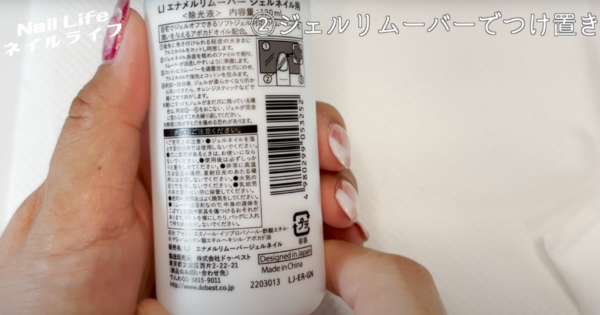
- ジェルネイルリムーバー
- ヤスリ
- ダストブラシ
- アルミホイル
- コットン
- ウッドスティック
- ネイルオイル
🔰羊さんネイルケアするので
けっこう持ってます♪
物知りウサギネイルケアやジェルネイルでも使うので
家にあるものが多いと思います。
🔰羊さんジェルリムーバーは無いです。
除光液でも大丈夫ですか?
物知りウサギ除光液では代用できません。
ちなみにこれは全て100均で揃います!
🔰羊さんすごい!
メーカーによってはエタノールや除光液などでオフ出来るジェルもあります。
ジェルネイルのオフの手順(ソークオフジェル)
ジェルネイルのオフの方法は大きく分けて4つ
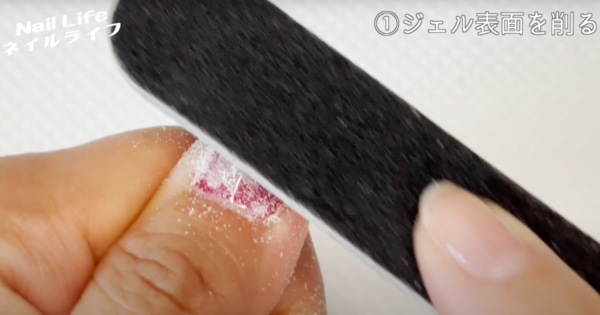
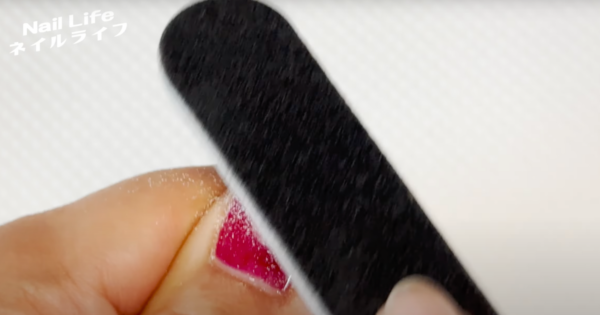
ジェルネイルリムーバーの 浸透をよくするためにジェルの表面を削ります。
削る目安はカラージェル の相場薄くなる程度です。
その理由は、自爪を削らないようにするためです。
削ったら、ブラシで粉を払います。
コットンを爪の大きさにカットします。
物知りウサギだいたいの大きさで大丈夫です。
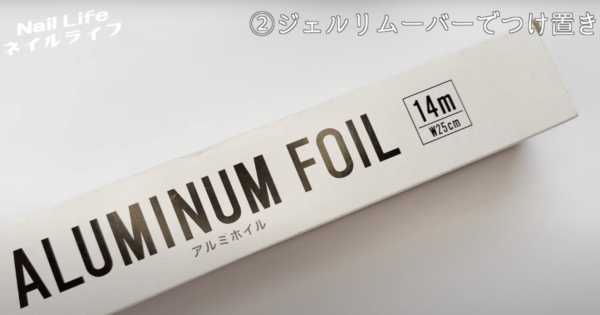
アルミホイルも指が巻ける程度で切って置きます。
物知りウサギ今回使ったアルミホイルが25CM幅で、
約8cm×7cmにカットしました。
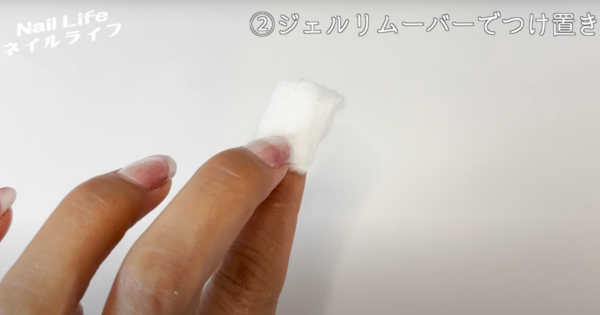
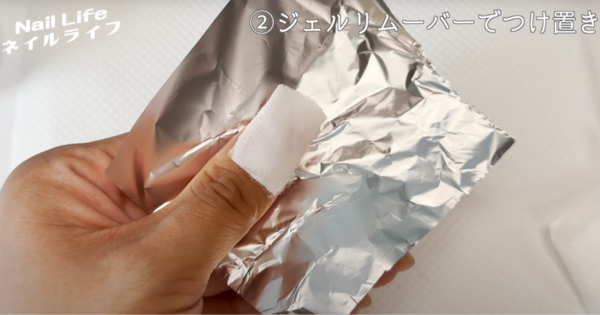
切っておいたアルミホイルを持ちながらコットンも爪に乗せます。
乗せたコットンにジェルリムーバーを 染み込ませます。
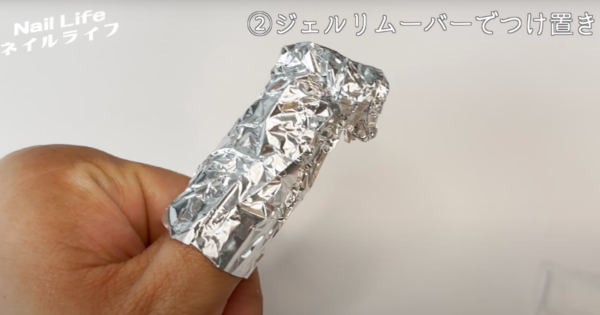
コットンが 全体に浸る状態でアルミを指に巻きます。
なるべく隙間なく巻きつけて 先端はキャンディーの包みのようにねじり込んで折りたたみます。
こうすることで揮発しやすいアセトンを効率よくつけおきできます。
この状態で10分から15分おきます。
物知りウサギその間に他の指も同じように巻きつけ ます。
🔰羊さん指に巻きる時、
付けたのが取れそうです!
物知りウサギクリップもおすすめです。
挟むだけで簡単ですよ!
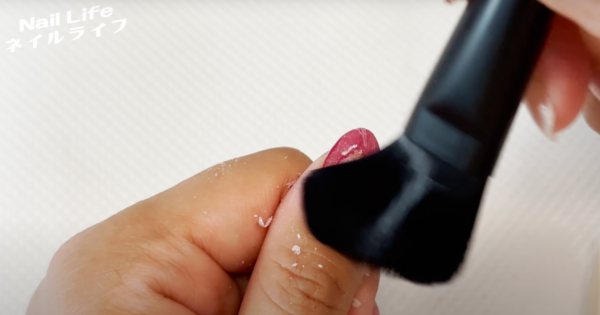
10分から15分ほど時間を置いたらアルミホイルを外します。
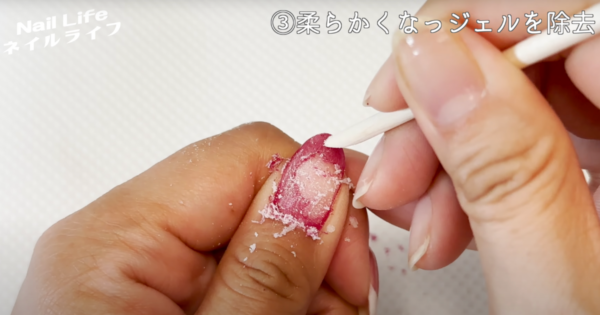
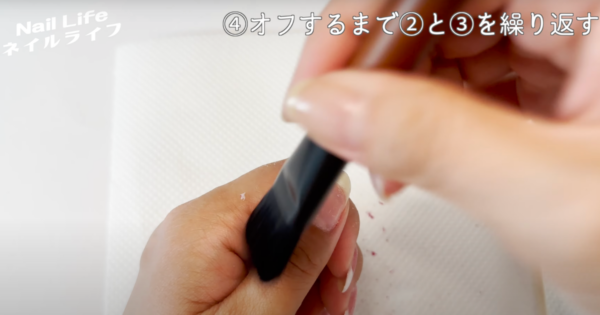
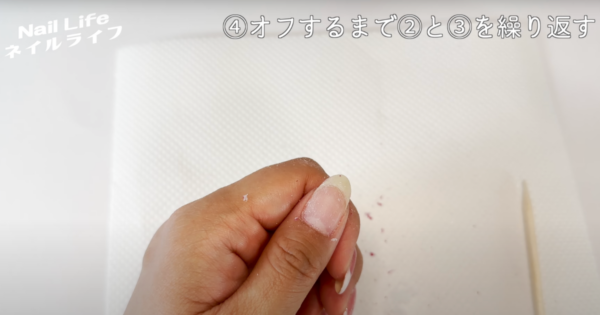
ウッドスティックを使って柔らかくなっているジェルを取り除きます。
ウッドスティックで軽く削ってポロポロと取れるものだけを取ります。
まだ柔らかくなっていない部分は 無理に剥がさないでください。
無理に剥がすと爪の表面を持っていかれるので、
柔らかくなったジェルネイルのみを取り除きます。
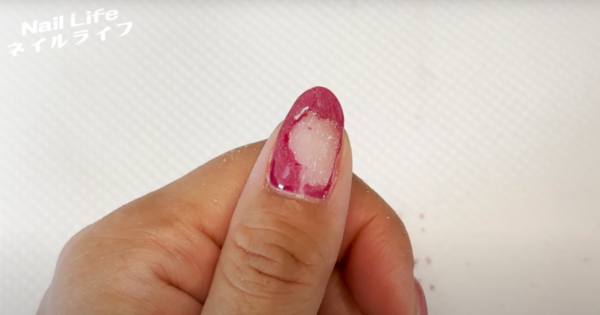
取り除けなかったジェルがある場合は、
もう 一度ジェルリムーバーでつけ置きします。
ジェルがオフ出来るまでSTEP②とSTEP③を繰り返します 。
物知りウサギ先ほど巻いたアルミホイルとコットンを再利用します。
🔰羊さん丁寧に外さないといけませんね!
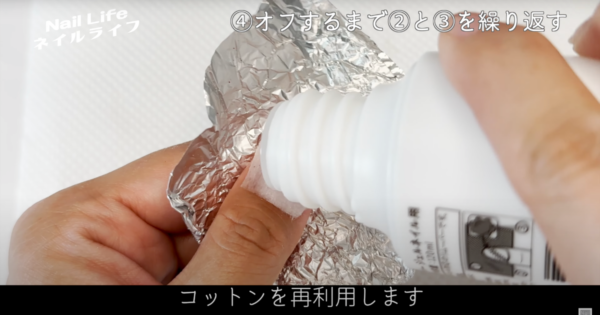
ジェルリムーバーは揮発するのでアルミを巻く前に都度、足してください。
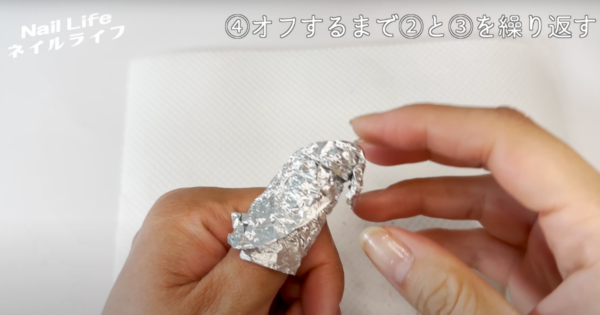
巻き直して10分くらい置きます。
ジェルをオフする時の最大の注意点は
無理に剥がさないこと それが重要です。
なので、取り除けなかったジェルが 柔らかくなるまでこの工程を繰り返し行っ てください。
ジェルの密着する具合は、ジェルの塗り方や爪のコンディションで 大きく左右されます 。
物知りウサギ次のジェルの持ちが悪くならない様に
ジェルオフは慎重にしてくださいね 。
ジェルがすべて落とせたら…
余分な削り粉を払います。
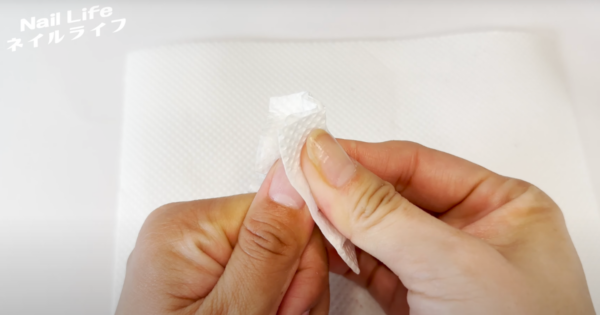
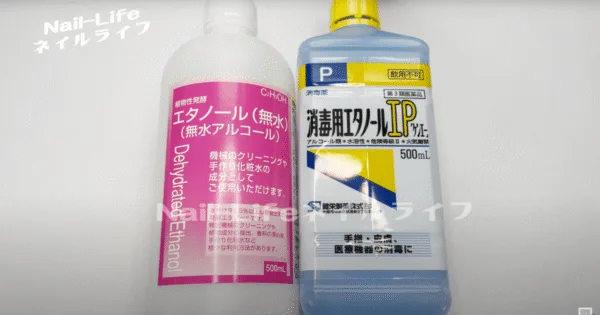
削り粉や溶剤が皮膚に残っていると思うのでエタノールで綺麗に拭き取ります。
🔰羊さん一度手洗いしても大丈夫ですか?
物知りウサギもちろん、大丈夫です!
エタノールはセルフでは必需品なので用意しておくと良いです。
エタノールについてはこちらの動画で↓

これでジェルネイルのオフができました。
ジェルネイルを塗る場合は、プレパレーションをします。
このままジェルなど塗らない場合は、必ず保湿をします。
🔰羊さん保湿ですか?
物知りウサギアセトンは爪やお肌を乾燥させてしまうので
このままだと爪が割れやすくなります。
爪だけでなく、爪周りの皮膚にもオイルをなじませておきます。
ジェルオフ動画はこちらをご覧ください。
🔰羊さん正直、アセトンジェルって面倒ですね。
物知りウサギそうなんです。
なので最近はめくってオフします♪
最近はジェルを落とさず、めくる?
最近では、アセトンオフをするジェルを使っていません。
理由は、アセトンオフで自爪が痛むから。
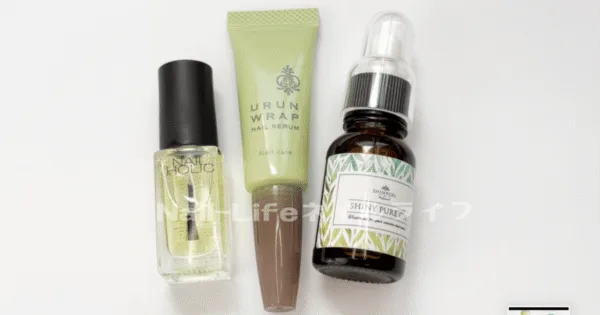
ベースで使うジェルをピールオフにしています。
詳しくは動画で↓
おすすめのピールオフはこちら↓

コメント