

皆さんこんにちは。
粘土ジェルを買ったけど、デザインが思いつかなくて困っていませんか?
今回は、初心者さんにも簡単な粘土ジェルのデザインをご紹介します。
先日、ショート動画でご紹介したデザインが簡単なのに
可愛くて皆さんにもすごく好評でした 。
この記事を読むと、
- 簡単な粘土ジェルのデザイン
- 今回のデザインを自爪に
- 応用が効く粘土ジェルデザイン
がわかります。
是非、最後までご覧ください。
 🔰羊さん
🔰羊さん粘土ジェル、買ったけど形作るのに
時間が掛かってしまって…。
 物知りウサギ
今回のデザインは粘土ジェルをのせて
形を整えるだけなので簡単です。
簡単な粘土ジェルのデザイン
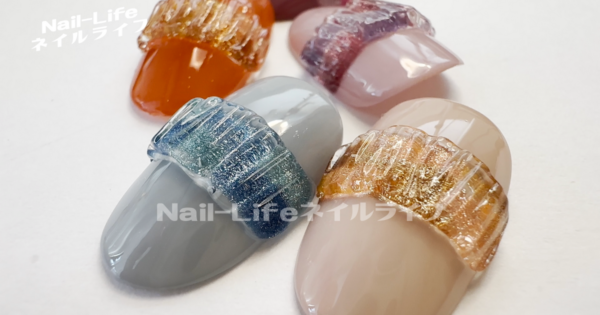
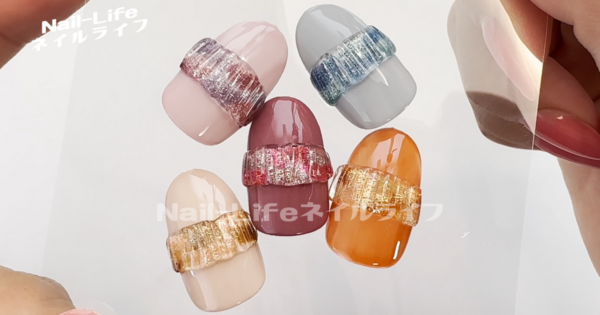
ガラス細工のような透明感と下の層で輝くマグネットジェルの輝きが
めちゃくちゃ綺麗です。
このデザインは2色のマグネットジェルと粘土ジェルを使ったデザインです。
🔰羊さんどうやるんですか?
物知りウサギやり方を簡単にご紹介します。
粘土ジェルデザインのやり方
 物知りウサギ
ベースカラーまでの工程は省略します。
マグネットジェルを塗る。
マグネットジェルを3点塗ってギラッとさせて硬化します。
違う色のマグネットジェルを塗る。
違うカラーのマグネットジェルも3点塗ってキラッとさせて硬化します。
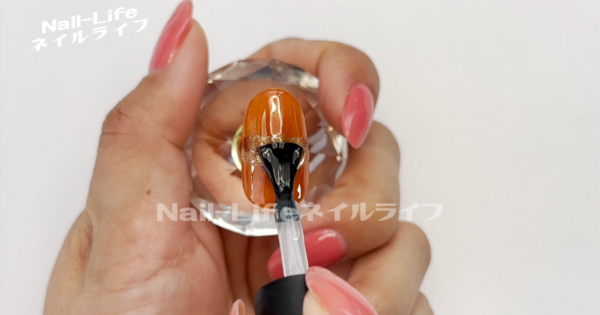
ノンワイプトップコートを塗る。
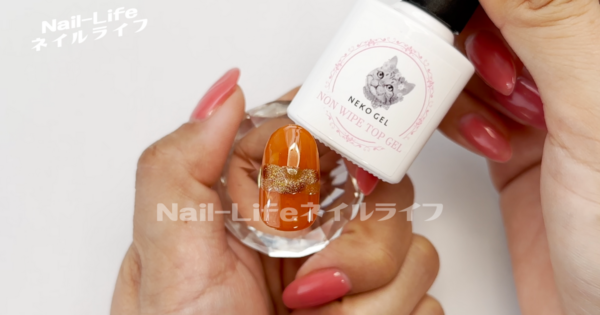
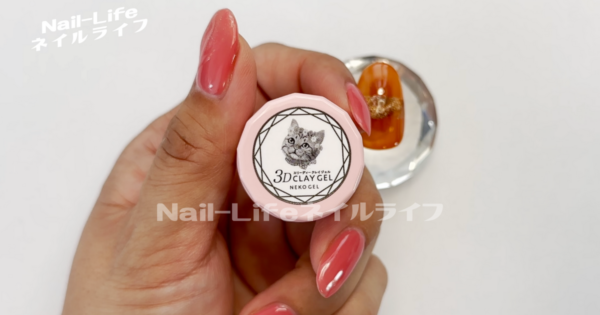
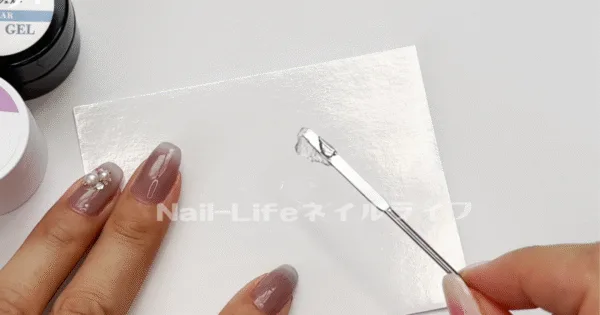
次に粘土ジェルを使いますが、このデザインでは、ネコジェルのクレイジェルを使いました。
ネコジェルのクレイジェルは未硬化ジェルが残らないので先に爪全体に
ノンワイプトップコートを塗って硬化します。
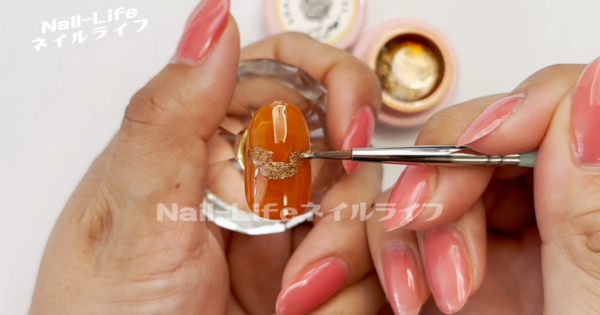
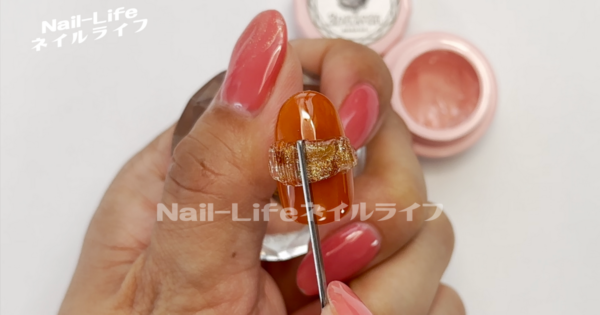
粘土ジェルでアートする。
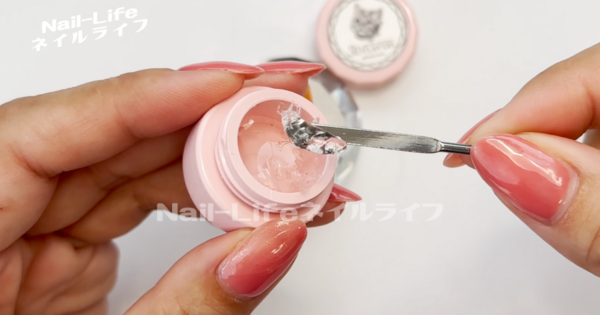
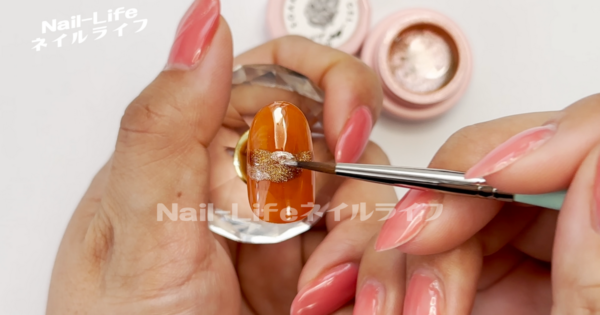
クレージェルをペタッと置いて伸ばします。
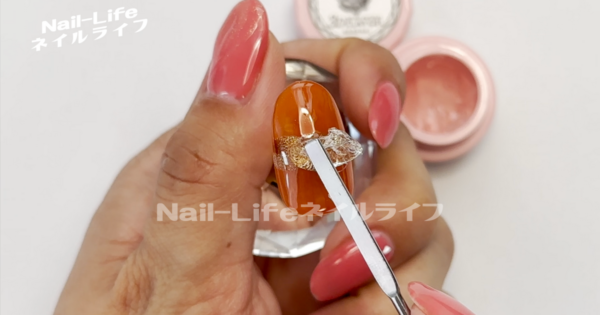
形を整えたら、

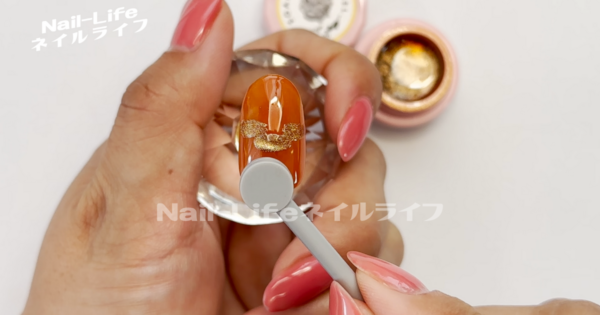
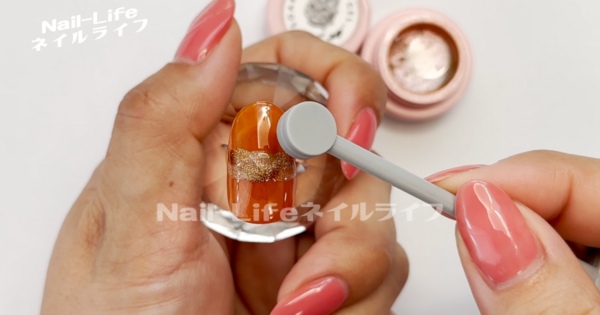
あとは、このようにグッグッグッと跡を つけたら硬化して完成です。
ネコジェルの3Dクレイジェルはノンワイプタイプなのでこれで完成ですが
ベタつきが気になる場合はノンワイプトップジェルを薄く塗って硬化すると良いです。
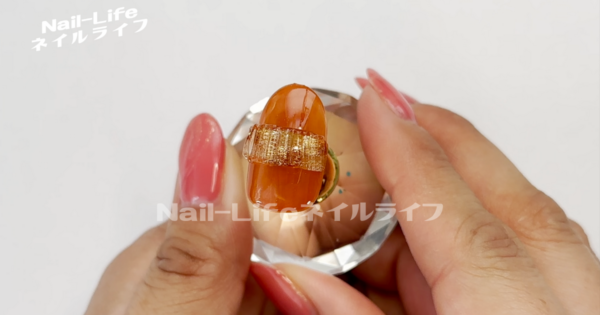
完成♪
 🔰羊さん
🔰羊さん簡単で可愛いですね。
物知りウサギすごく簡単にできちゃいます。
このデザインで使ったアイテム
今回使ったアイテムはこちらです。
茶 ベースカラー S-10(ベースカラー)

マグネットジェル CE-10/CE-07

3Dクレイジェルハード(粘土ジェル)
 🔰羊さん
🔰羊さん粘土ジェル上手く扱えないです。
物知りウサギこのデザインで使ったネコジェルのクレイジェルは
ベタつかず使いやすかったです。
もし、お持ちの粘土ジェルがベタベタするならこちらも合わせてチェックしてください。
ノンワイプトップコート(トップジェル)

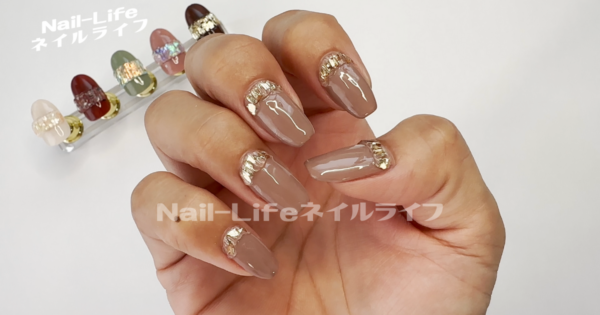
今回のデザインを自爪に
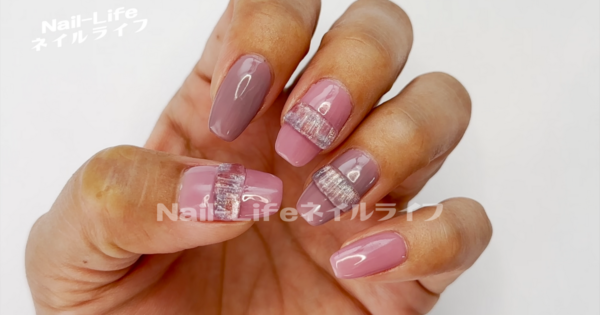
実際に自爪にやったところも見てみたいというコメントを頂いていたのでやってみました。
2色のベースカラーにこのデザインをアートしてみました。
サブアートも考えてみたんですが、このアートを引き立たせるためにもあえてシンプルにまとめてみました。
ベースカラーに使ったカラーはこちらの2色です。
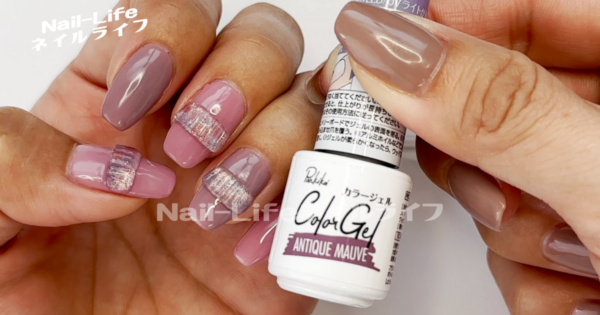
人差し指と薬指にはキャンドゥのアンティークモーブを2度塗りしています。
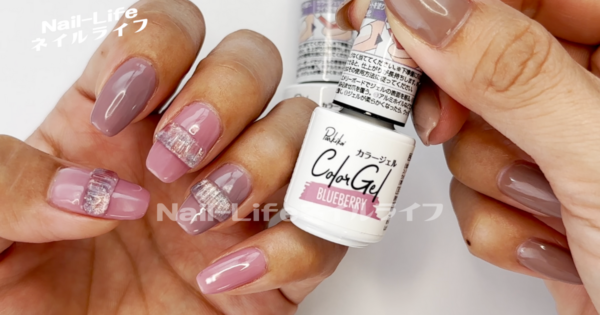
親指中指小指にはキャンドゥのブルーベリーを2度塗りしています。
マグネットジェルはこちらの2色を使いました。
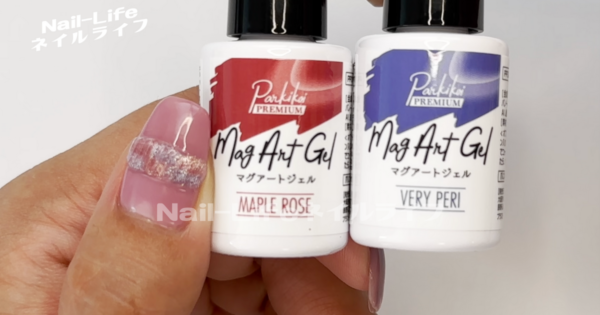
キャンドゥのマグアートジェル メープルローズとベリーペリを使いました。
🔰羊さんこの組み合わせもすごく可愛いですね♪
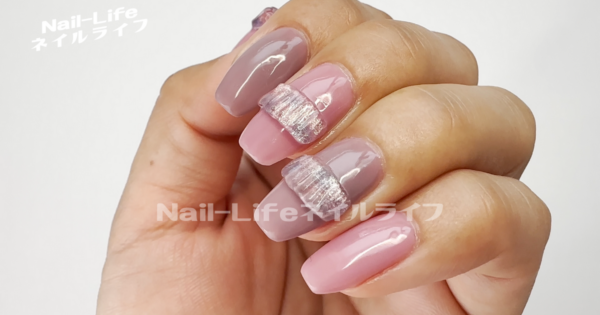
と、ご質問を頂きました。今回はこちらの3本にデザインをやってみました。
でも、粘土ジェルに慣れないうちは、爪の面積が大きい爪にするのがおすすめです。
物知りウサギ親指と薬指とか、親指と中指とかで
2本のアートも可愛いと思います。
応用が効く粘土ジェルデザイン
このデザインは、マグネットジェルを塗った上に粘土ジェルを乗せましたが、
中に埋め込む物を違うものに変えたらどうなるのかなと思ったので試してみました。
あらかじめこのようにちょっと作っておきました。
🔰羊さんマグネット以外でも出来るんですね!
物知りウサギシェルだったり、シールだったり色々のせて
上に粘土ジェルをアートしました。
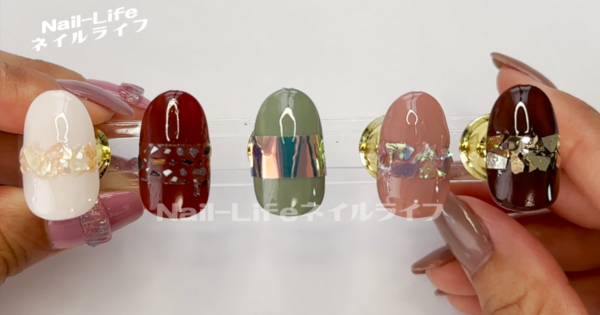
クラッシュシェル
ベースカラーはキャンドゥのアイボリーを2度塗りしています。
粘土ジェルの下に埋め込むものはキャンドゥのクラッシュシェルです。
物知りウサギクラッシュシェルのオレンジとイエローを使いました。
🔰羊さんこれもすごい綺麗♪
物知りウサギジェルの下にシェルがキラキラっとするのも
めちゃくちゃ綺麗ですね。
シール
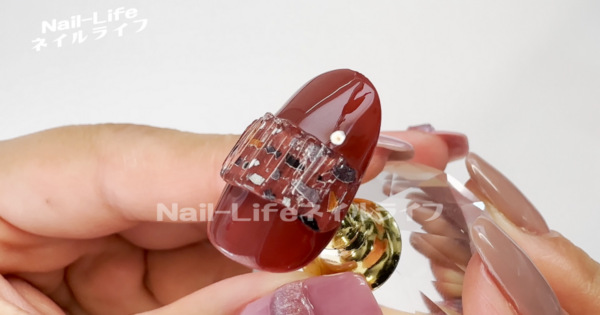
ベースカラーはキャンドゥのレッドブラウンを2度塗りしています。
🔰羊さんレッドブラウン綺麗な色で
秋にぴったりなカラーですね!
粘土ジェルの下に埋め込むものはセリアで購入したシールです。
物知りウサギこのシールは2色展開です!
石みたいな柄が可愛いです♪
🔰羊さん粘土ジェルで立体感を出すとモザイクっぽい感じで可愛い♪
物知りウサギお花のシールとかでやっても可愛いかもしれないです!
オーロラフィルム
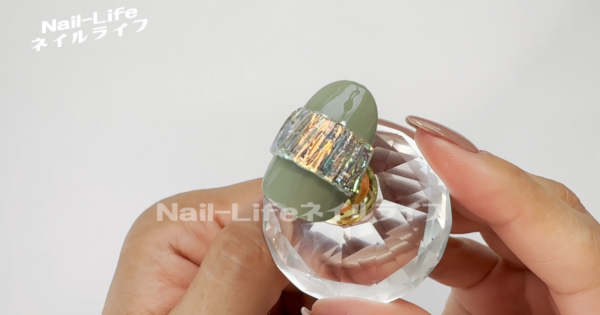
ベースカラーはキャンドゥのアーモンドグリーンを2度塗りしています。
粘土ジェルの下に埋め込むものはセリアのオーロラフィルム(ブルー)です。
物知りウサギオーロラフィルムって埋め込むのが大変だけど
粘土ジェルなら簡単に埋め込めるのでおすすめです!
🔰羊さんめちゃくちゃ綺麗で見惚れちゃいますね♡
クラッシュホロ
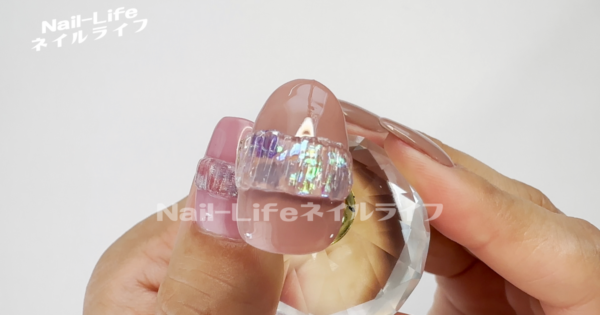
ベースカラーはキャンドゥのダスティピンクを2度塗りしています。
粘土ジェルの下に埋め込むものはキャンドゥのクラッシュホロです。
物知りウサギクラッシュホロのブルーとオーロラを使いました。
🔰羊さんクラッシュホロも埋めようと思うと大変ですけど
粘土ジェルなら楽チンですね!
物知りウサギオーロラフィルムとはまた違った輝きで
すごくキレイです♪
メタルホログラム
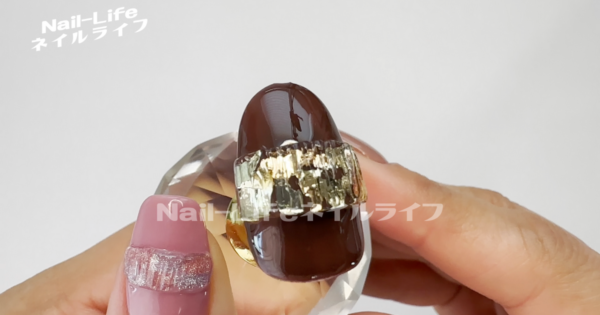
ベースカラーはキャンドゥのコーヒーを2度塗りしています。
粘土ジェルの下に埋め込むものはダイソーのメタルホログラムです。
物知りウサギ光が屈折して中に埋め込まれたホロの輝きがすごくキレイです。
🔰羊さん大人っぽくて可愛い♡
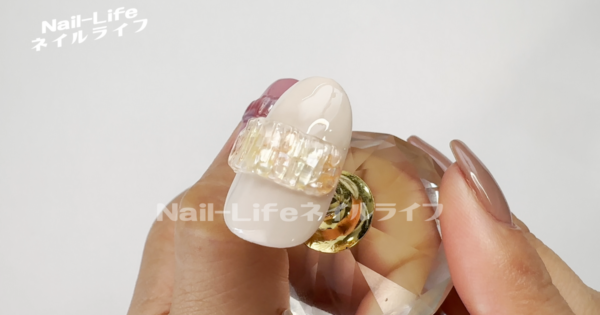
粘土ジェルの量や位置で簡単アレンジ♪
自爪の方には爪の根元側にアートしてみました。
🔰羊さん可愛い♪
リングネイルみたいな感じですね。
物知りウサギ下に埋め込むだけで
こんなに可愛くできます。
粘土ジェルの量は少なめにして、そんなに凸凹しないように埋め込んでみました。
🔰羊さん自分のお好きな粘土ジェルの量で調整できますね。
ちょっと大人っぽくて、すごく綺麗なネイルデザインになりました。
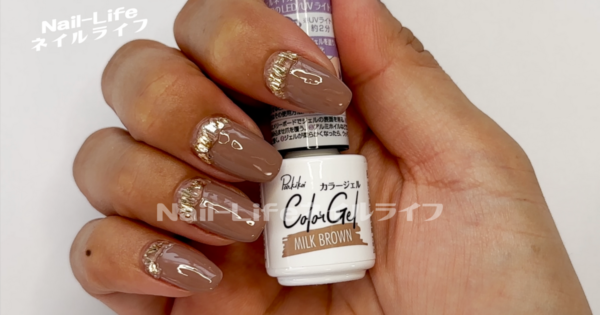
ちなみにこちらのベースカラーはCanDoのミルクブラウンを2度塗りしています。
物知りウサギこのベースカラーもすごく肌馴染みが良くておすめです。
ゴールドとの相性もすごくいいですよ!
まとめ
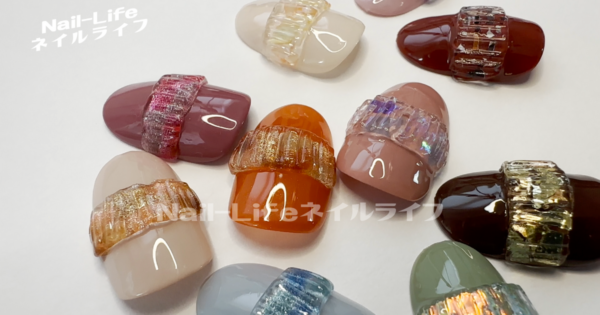
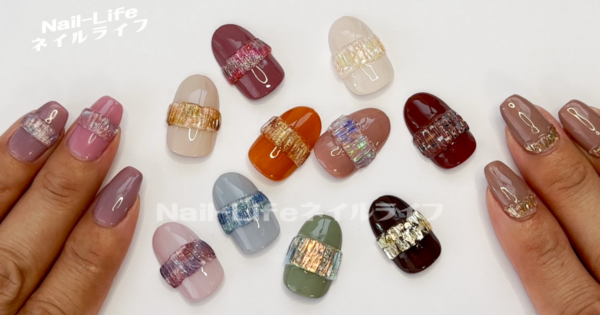
今回は大好評だったガラス細工のようなアートの中に埋め込むものを色々変えてみました。
マグネットジェルのもすごく綺麗で可愛かったんですが、シェルやホロ、オーロラフィルムも
めちゃくちゃ可愛かったです。
是非、皆さんも やってみてください。
この記事の動画はこちら↓
今回の動画が少しでも 良かったと思った方は高評価お願いいたします。
チャンネル登録がまだお済みでない方は是非チャンネル登録の方もお願いいたします。
最後までご覧いただきましてありがとうございました。
コメント